Newsletters
Newsletters (Email campaigns) help keep your members, or others who subscribe, informed about site updates, new features, or anything else you may want to convey to your readers.
In order to do any of the below steps, you'll need to be logged in with the details sent to you via Email. Some features below are only available on paid plans with access to those features.
If using the Konnexu bounce server, please follow the "Konnexu Bounce Server" steps to set it up before proceeding with the rest of the steps below. If not using the Konnexu bounce server, please skip that set up, but please ensure you have a bounce Email to use for monitoring bounces.
Konnexu Bounce Server
Your welcome Email contains log in details for the Konnexu bounce server should you want to use it. It also contains the POP3/IMAP details, DNS record and a link to the webmail log in for the bounce Email you'll set up.
We recommend using a subdomain such as news.yourdomain.com.
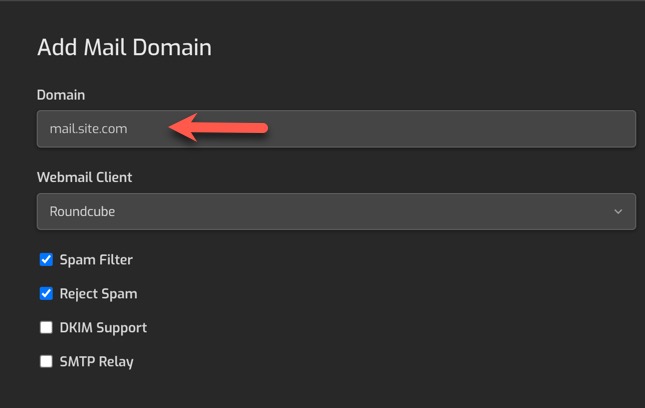
- Click "Add Mail Domain."

- Fill in the domain name you want to use such as news.yourdomain.com or yourdomain.com if not using a subdomain and click the "Save" button.
-
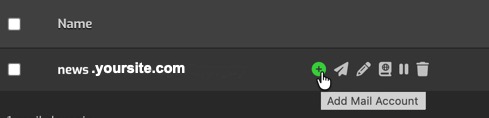
Click the add mailbox button.
-
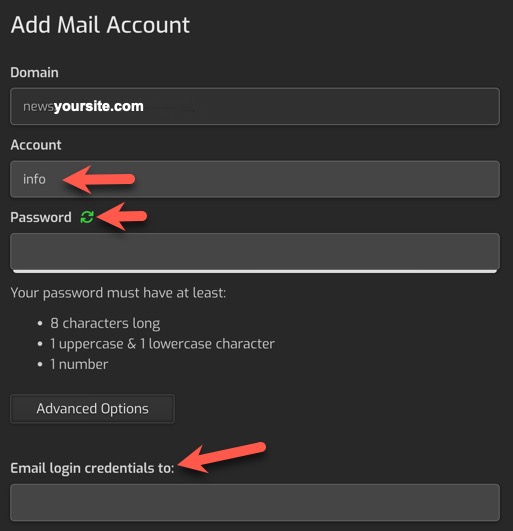
Enter the mailbox name, password (you can have it generate one) and be sure to copy them before saving. Note that to the right of the input boxes is a box that shows settings, please disregard those IMAP and POP3 details and use the ones from the Email we sent.
- Add your DNS record from the Email sent with the newsletter info if you haven't already done so.
- Follow the steps below for adding your bounce server to the newsletter.
Add a Sending Domain in the Newsletter Settings
We suggest using a subdomain rather than your root domain. Example: news.yourdomain.com rather than yourdomain.com. If using the Konnexu bounce server, you should use the same domain or subdomain.
-
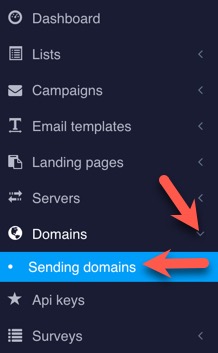
Navigate to Domains >> Sending Domain
-
Click "Create New" and fill in the domain, for example news.yourdomain.com
- After adding the sending domain, you will see DKIM, SPF and DMARC TXT records that need to be set at your domain registrar. If using Konnexu DNS, please submit a support ticket for us to add the records if you are not able to add them.
- Once the records propagate at your registrar, or Konnexu DNS, your domain will be verified. You can then proceed to the next step.
Add a Bounce Server
For this, you will want to use a bounce Email that you can access to check (either via the Konnexu bounce server, or using an Email you own). Using our examples above, we will use [email protected] in this example. This is where undeliverable newsletters (Emails) will bounce back. You'll want to keep an eye on these as it can impact your sending reputation if you keep having the same Emails bounce back. Remove any that bounce from your subscriber lists if the system hasn't.
The below settings example uses IMAP, but you can use POP3. You will need the IMAP or POP3 details of the bounce Email you will use. This example uses the Konnexu bounce server Email details. If you use IMAP and find that your bounce Emails are not recording or showing, please try POP3. Also, you should ensure that your settings at your Email host for IMAP or POP3 are set not to delete the Emails. If they delete, then the bounces will not be picked up by the newsletter system.
-
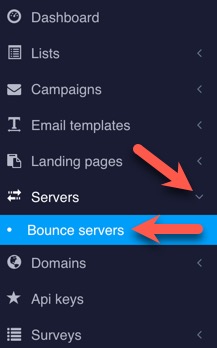
Navigate to Servers >> Bounce Servers
-
Click "Create New" and fill in the form. Most is self-explanatory from your IMAP settings you got from your Email host.
- Ensure that the Email you use in the "Email" setting is the one you set up for this purpose, in our example it is [email protected] .
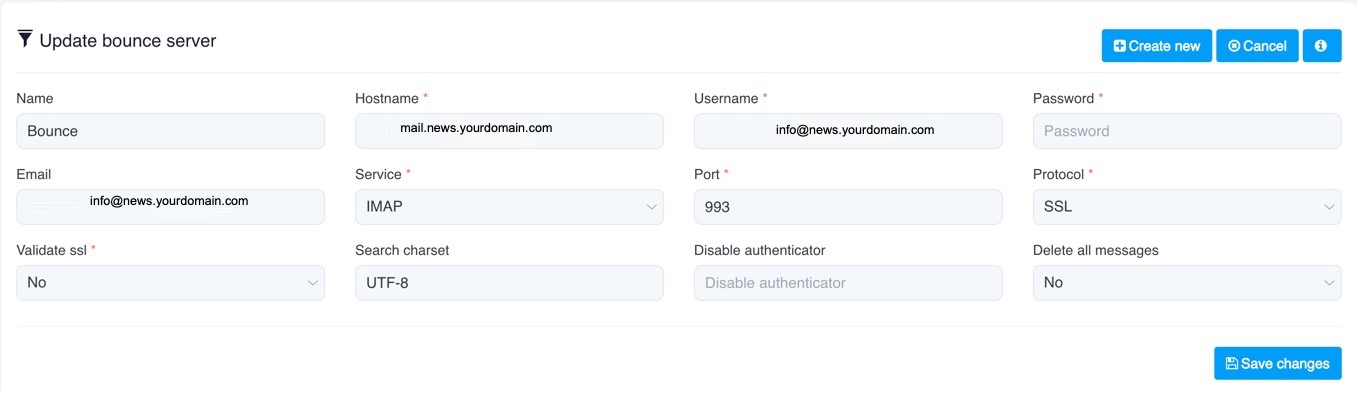
- When done, Save Changes.
Create an Email List
To send Email campaigns, you'll need to create an Email list if you haven't already. Your Email list identifies you as a sender, it contains your information and allows you to set options for your subscribers. Each list is completely separate, which means you can customise each list as you wish, including subscribers, custom forms/pages and custom fields.
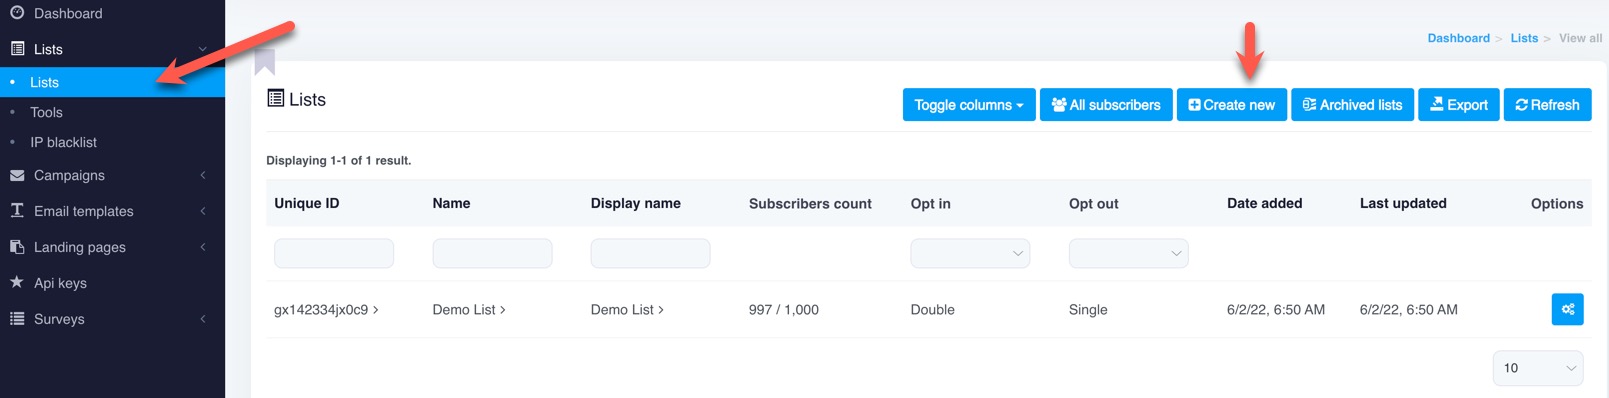
- Navigate to Lists >> Lists
- Click "Create New" to make a new list.
- Fill in the required information for your new list:
- Name & Description: Give your list a name and a description that explains to subscribers why they are receiving this Email.
- Sender Details: Define the "From Name," "From Email," and "Reply-To" address. (more info on these below)
- Subject: This is the subject seen by the recipient. You can leave this blank here as it is best to fill in when creating each campaign.
- Company Details: Fill out your company name and address, which is required for legal compliance in the Email footer.
- Set Subscription Options
- Opt-in Type: Choose between Single or Double Opt-in. Double opt-in requires users to click a confirmation link in an Email, which is recommended for list quality.
- Welcome Email: Choose whether to send a welcome Email to new subscribers.
- Click the "Save Changes" button.
Once saved, you can further customize the list by adding Custom Fields (e.g., first name, birthday) or configuring list-specific pages (e.g., unsubscribe pages).
Sender Details Info
- From Email: Defines the "sender" identity, crucial for inbox placement and brand recognition. Ensure that this Email exists and is valid or your newsletters will be marked spam.
- Reply-To Email: Ensures recipient replies go to a designated, monitored inbox, rather than an unmonitored sending address. Most people don't reply to newsletters.
- Best Practices: While they can differ, keeping From, Reply-To and Bounce Email addresses consistent can improve deliverability. An example Email you could create for your newsletter is [email protected] or [email protected] .
Adding Subscribers to Your List
You can add subscribers to your list by importing, having them sign up, or by adding them manually.
Adding a Link to Your Subscribe Form
This example is for your Konnexu site, but you could put the link anyplace else too, such as in Emails or other sites that allow links.
- Navigate to Lists >> Lists and click the list you want to promote.
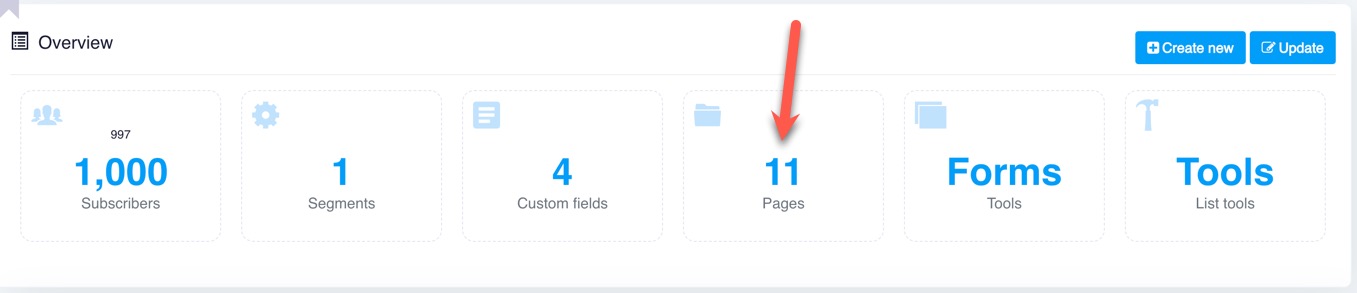
- Click Pages. (you can modify the subscribe page - more details will be coming)
- You'll see "Your subscribe form url is:" with a link. Copy that link.

- In your Konnexu site, create a menu and add the URL you copied from the newsletter list. Clear cache after.
Importing Subscribers
You will need a CSV file for importing users. The CSV must have the first row a header with the first column an email column, and be UTF-8 encoded. The system allows mapping CSV columns to list fields, and it automatically creates new fields for unmatched columns. Download this sample CSV file if you need an example.
- Navigate to Lists >> Lists
- To the right of the list you want to import users into, click the Gear and click the Import icon.

- Choose CSV import, choose your CSV file and upload.
- Match the CSV columns to your subscriber list fields, then click Save and continue.
Importing Tips
- Too Many Subscribers: If the import fails or hangs, reduce the number of subscribers per file.
- File Size Limit: If the file is too large, greater than your plan allows, reduce the file size or upgrade your plan.
- Duplicate Emails: Duplicate Emails in the CSV will be automatically handled based on list settings.
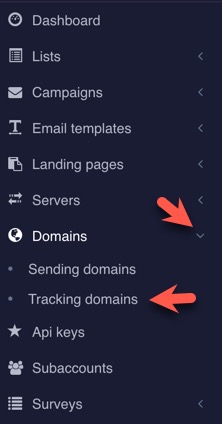
Tracking Domains
If you have access to adding tracking domains, this is a great feature as you can have your list links customized to your domain(s) such as news.yourdomain.com . Tracking domains are for tracking clicks and opens, improving Email deliverability by branding your links.
When setting the tracking domain, ensure that you own the domain as you'll need to add the CNAME record at your registrar, or if using Konnexu DNS. we can set it for you if you open a ticket with us.
-
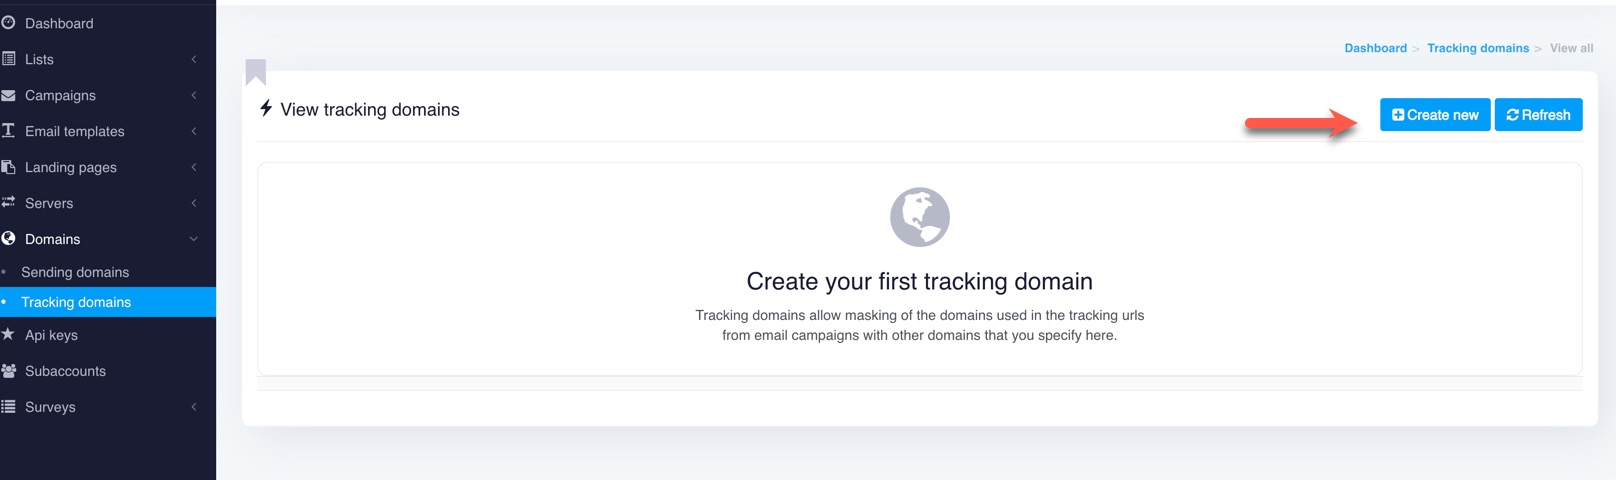
Navigate to Domains >> Tracking Domain
-
Click "Create New" in the upper right.
- Fill in the details for your tracking domain.
- Name: Your tracking domain such as news.yourdomain.com
- Scheme: HTTPS
- Skip Verification: Yes
- Save changes
- Add the CNAME record if not using Konnexu DNS. Our example is using the news.yourdomain.com . Depending on your registrar, propagation can take minutes or hours.
- Type: CNAME
- Name: news
- Value: from the Email sent
Note: You can get the Value by clicking the info button when in the tracking edit page.
 TIP: If using Cloudflare for your DNS, do not enable Proxy.
Need help?
If you need any help, drop us a line at our Konnexu Support Portal or ask a question at the Konnexu Community. We're always happy to assist.