Blocks
Blocks, or widgets, are containers that display various items on your site. Many blocks can be arranged however you would like. Some blocks can be placed on any page of the site. Other blocks, however, can only be placed on specific pages. For example, a profile custom field is made specifically for the user profile page. You can arrange it on that page, but cannot place it on other pages because it contains data that pertains to the user being viewed.
Note:
Our block system is still in development. At the time of launch, you can only add HTML blocks. This will allow you to put ads or other HTML blocks on your site. We will continue to improve and add features to the block system as we release updates.
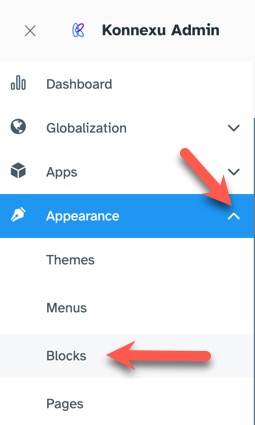
In order to work with blocks, when in the ACP, navigate to Appearance >> Blocks
When working with blocks, always clear your site cache after in order for your changes to show.
Block Locations
(Please note that the border colors shown in the screenshot are only for this tutorial reference. Blocks would only have a border if you add one via Tailwind CSS which we will show below):
Here's a screenshot of each block location (Click the image to view larger):
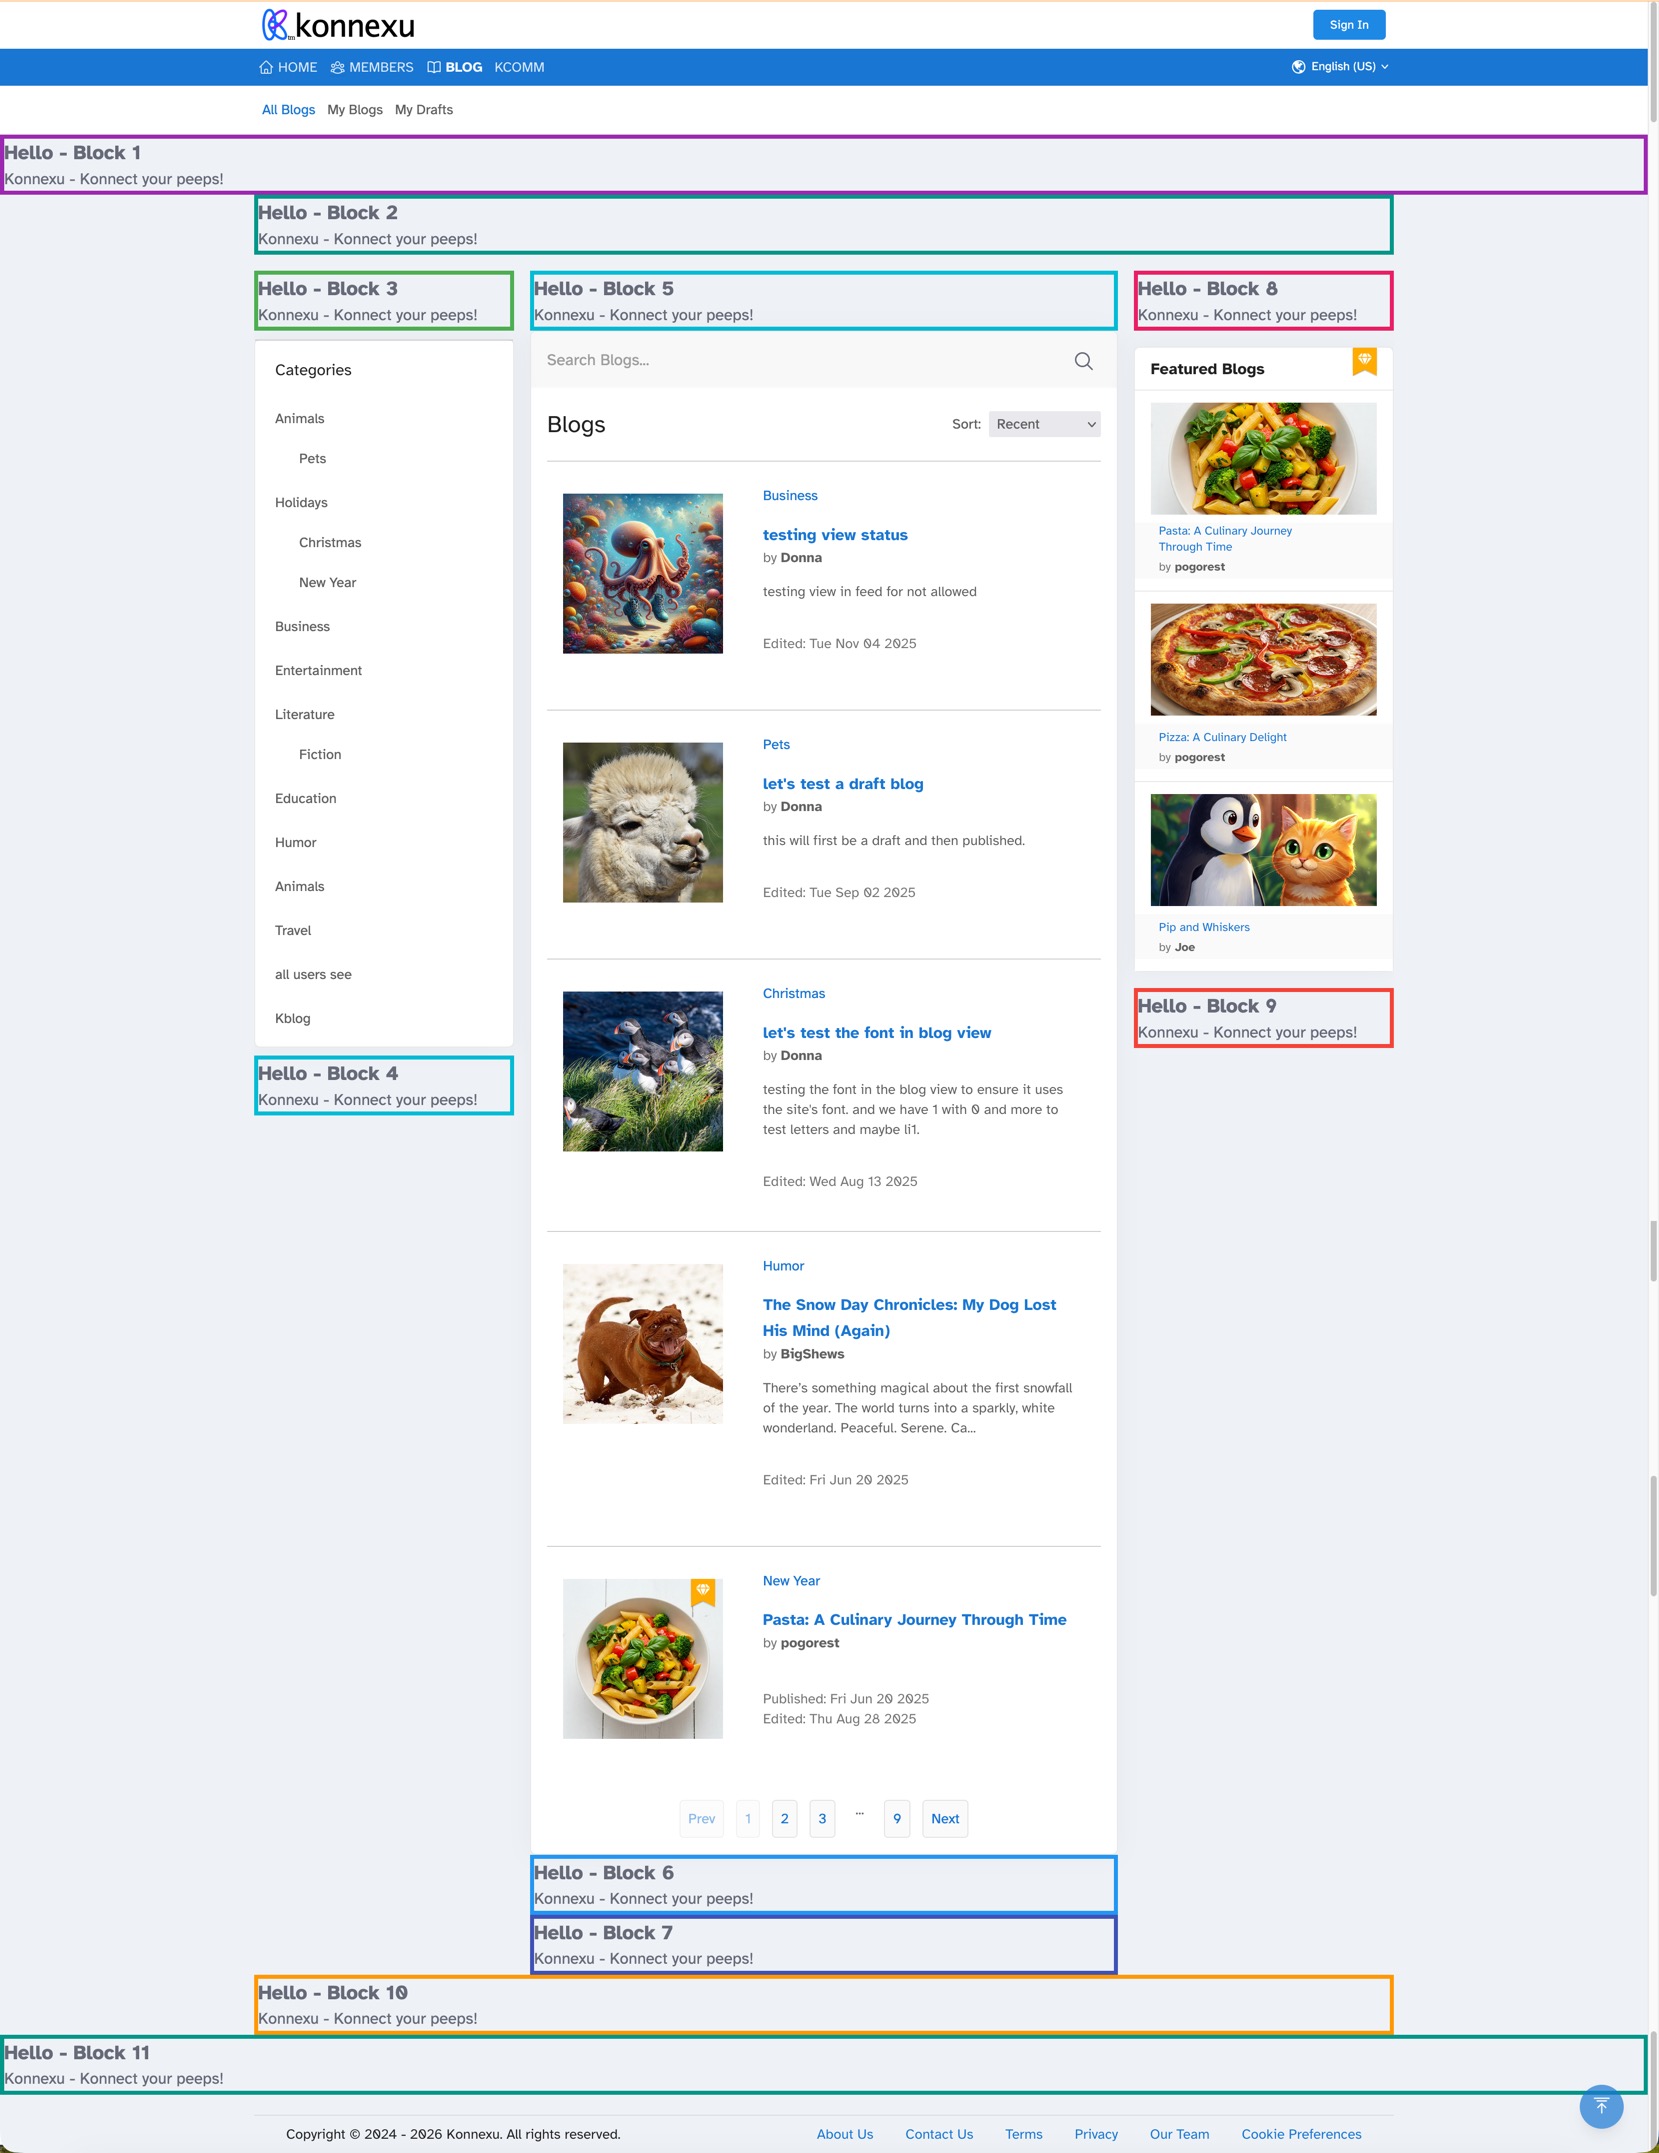
- Block 1: Top, above content, below menus - hero banner type, full width.
- Block 2: Top, above content, below hero banner, contained width spans across all three columns.
- Block 3: Left column, above content and category blocks.
- Block 4: Left column, below content and category blocks.
- Block 5: Center column, above feed or content blocks.
- Block 6: Center column, below the content blocks.
- Block 7: Same as block 6 but below it.
- Block 8: Right column, above content blocks.
- Block 9: Right column, below content blocks.
- Block 10: Bottom, above footer and block 11, contained width spans across all three columns.
- Block 11: Bottom, above footer, full page width.
Adding Blocks to a Page
For the below, we are using a general ad block to show people where they can purchase ad spots.
* Click "Add Block" at the top right.

- Fill in the Title (this does not show in the block).
- Choose HTML as the Type for now. Later there will be more choices.
- Choose from the available pages.
- Choose the placement.
- Enter your HTML code in the box.
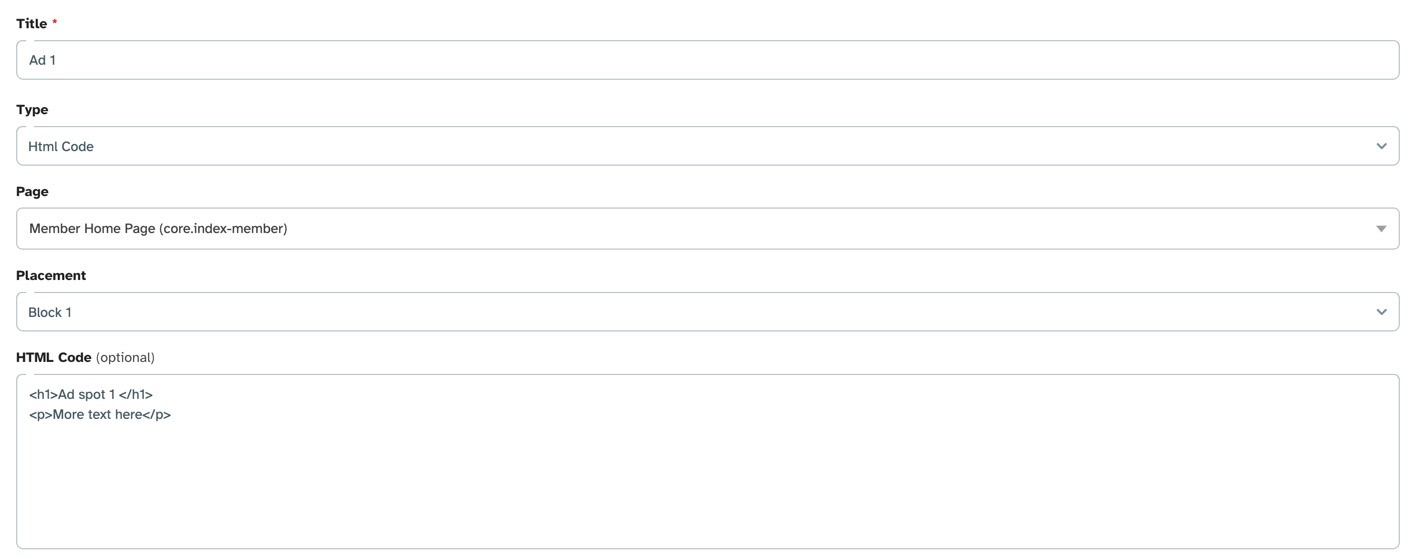
- Choose the user groups you want to be able to see this block and click Submit.

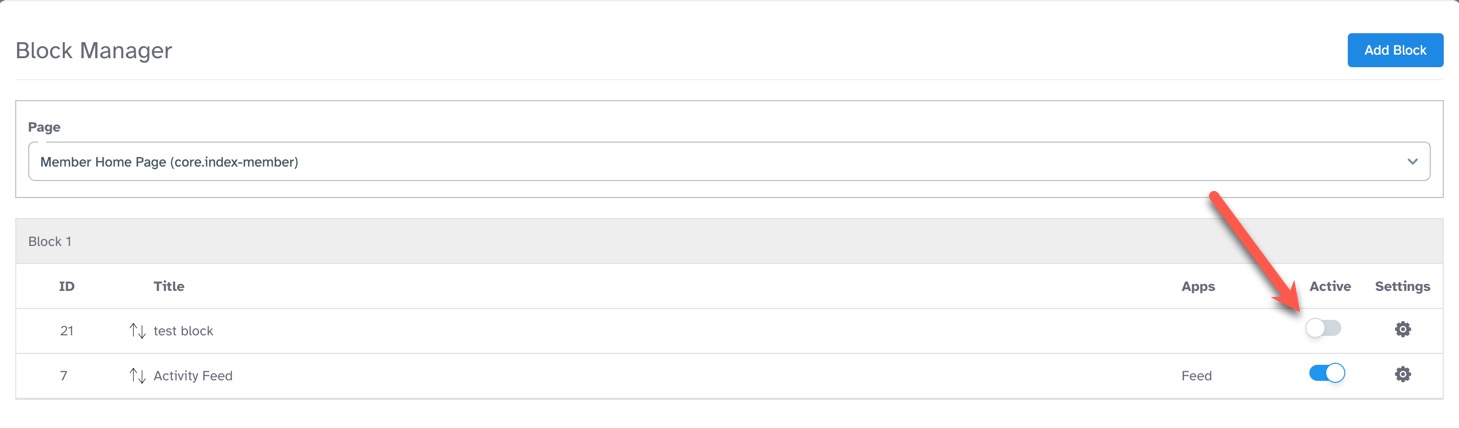
Enabling or Disabling Blocks
Do enable/disable a block, click the toggle in the Active column.
Deleting Blocks from a Page
Before deleting a block, please click to deactivate it.
Click the gear to the far right of the block you want to delete and select "Delete."

Editing Blocks on a Page
Click the gear to the far right of the block you want to edit and select "Edit."

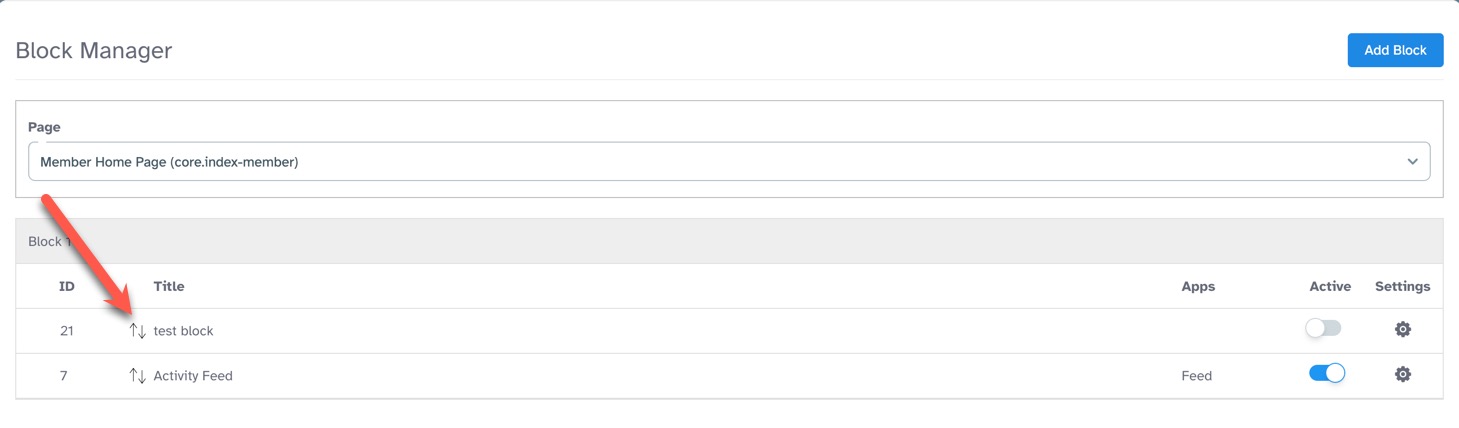
Moving or Arranging Blocks on a Page
You can move blocks up or down to arrange them how you want them. Click the up/down arrows and drag the block up or down to place it.
Customizing HTML Blocks with Tailwind CSS
This is just a basic guide for adding borders or background colors. View the style guide for a bit more info on Tailwind CSS.
Adding Borders
Here's the code we used for our blocks seen in our screenshot above:
<div class="border-4 border-purple-500">
<h1 class="text-xl font-bold">Hello - Block 1</h1>
<p>Konnexu - Konnect your peeps!</p>
</div>
The <div> tag has a class using Tailwind CSS border properties. In the example above, we use border-4 to have all
four sides of the block have a border. We chose purple as the color, border-purple-500.
Adding a Background Color
Perhaps you want a different background color for your block. Using the above code example, let's add the background color:
<div class="border-4 border-purple-500 bg-pink-50">
We added bg-pink-50 to have a light pink background.
Adding Font Size
In our code example we showed the <h1> tag with a class for the font. Since we wanted a bigger font and bold, we added:
text-xl font-bold
Centering the Block Content
If you want to center the block content, in the <div> class, you would add text-center like this (using our example from above):
<div class="border-4 border-purple-500 bg-pink-50 text-center">
That's all the tips for now. We hope you find this easy to use. Please feel free to connect with us if you have questions.
Need help?
If you need any help, drop us a line at our Konnexu Support Portal or ask a question at the Konnexu Community. We're always happy to assist.