Member Management - Konnexu Community Builder
When managing members, it's best practice to use the Delete function as little as possible, in order to avoid database corruption. A better practice is to use the ban function and then change user photo/name/email if you need to remove that data. This just helps with database integrity. However, in some cases you may have to delete a user, which is why the Delete function is available.
In order to manage the below settings, you'll need to be logged in to your ACP. When logged in to the ACP, navigate to Members >> Browse Users to add, edit and delete members. You'll see a list of the current members to the right.
Adding Members via CSV Import
You can add members via CSV import. Don't worry! If you've never used a CSV file, we'll show you how to work with the CSV template file.
Note: You will need to have the following info for users you want to import. Checked (colored) items are required, unchecked (greyed out) are optional.
- Full Name - this displays on the site for the user or business name if no Display Name is set.
- Username - this is an internal username for script use only. It is not publicly displayed.
- Display Name - this is the name that displays throughout the site. If no Display name is set, the Full name is used.
- Email - the user's email for logging in and receiving notifications.
- User Group ID - this is found in the admin panel when Editing a user group. Alternatively, use user group ID 2 which is the Registered user group.
- Gender - only for sites that use the gender field.
- Country ISO - you can find this by searching Google once you get the info from the user for what country they are in.
- Postal Code - zip code or postal code from the user. Only necessary for sites that use this field.
Please follow the below steps to import. Note that you can only choose one user group to import into. If you need to import users to various groups, we suggest creating separate CSV files for each user group you'll import into.
-
Click the "Import Users" button at the top right, above the list of users.

-
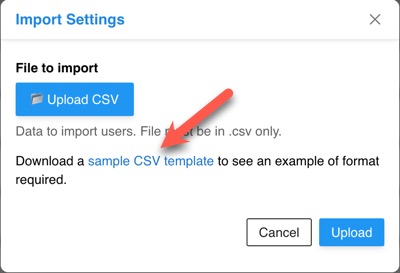
The popup will show a link to download an example CSV file. Download that file and open it with whatever program you use on CSV files (Excel, Numbers, Google Sheets, ModernCSV).
-
The example CSV file has column headers that must remain unchanged. They are: full_name, user_name, display_name, email, user_group_id, gender, country_iso, postal_code.

-
In the row under those headers, you can change the sample data to the user info you want to import.
-
Add more rows for any other users you want to import, one row per user. Here's how ours looks with two sample users to import.

-
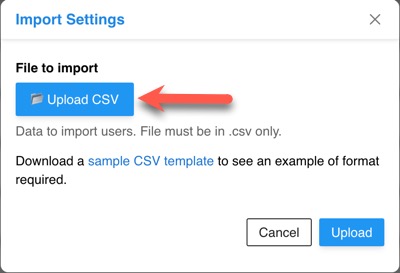
Once you're done filling in the users and have saved your changes, you can import the users by clicking "Upload CSV" in the popup and choosing the file you just saved.
-
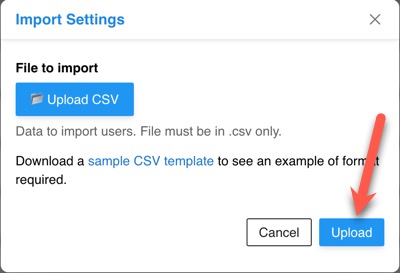
Once you've selected the file to upload, click the Upload button.
-
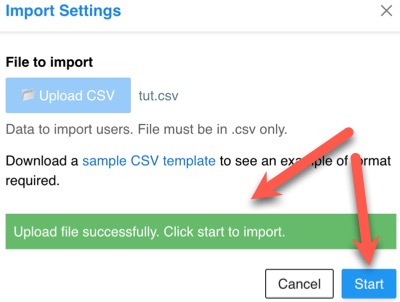
If the file uploads successfully, you'll see a success message, and a "Start" button which you'll click to go to the next import step.
-
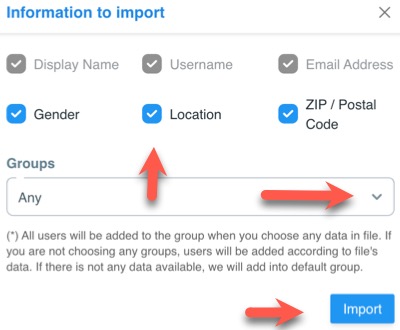
Choose the import information you want to import. Note that the greyed out options are mandatory import fields and cannot be disabled. You can start the import, or choose a user group from the drop-down selection. If you don't choose a user group, the users will import into the user group you set in the csv file.
-
Click the "Import" button, seen in the screenshot above.
- If the import works fine, you'll see a success message and the import popup will close. This process can take several minutes depending on the size of the import.
- Once the import is done, check the users to ensure they imported fine. You'll want to let your imported users know to use the password reset tool in order to set a password for log in.
Editing Members
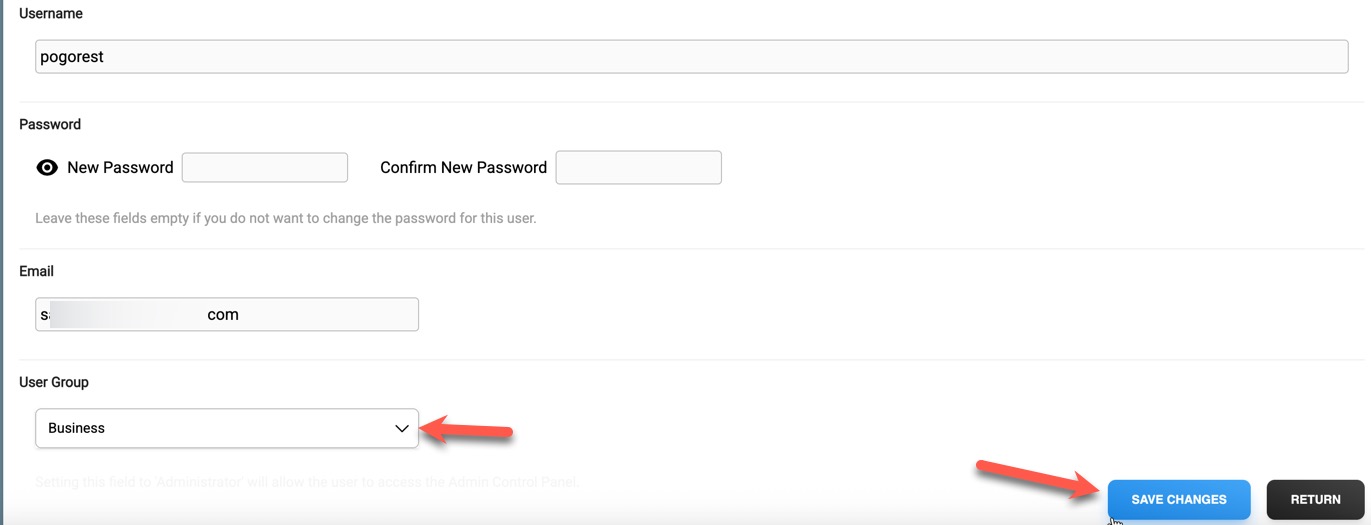
To edit a member, click the gear to the far right of the member's name and select "Edit." Make sure you click to Save Changes, at the bottom of the page, when done.

Banning Members
There are two ways to ban a member.
Banning a Member Via the Edit Screen
To ban a member, follow the step above for editing the member and when in the edit screen, change the member level to "Banned."
If you wish to unban this member, move them back to another user group once the ban is done. You can also un-ban them by following the steps below for un-banning via the member browse page in ACP.
Banning or Un-Banning One or More Members via the Member Browse in ACP
When in the member browse page in ACP, click the box to the left of the member(s) you want to ban or unban. At the bottom of the page, click either the "Ban" or "Un-Ban" button.

Moving Members to Another Member Group
A faster way to move members to another member group, rather than editing each member, is to do so via the member browse page in ACP.
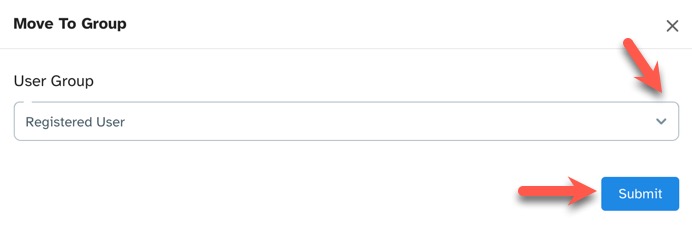
- Click the box to the left of the member(s) you want to move to another member group and click the "Move to Group" button at the bottom
of the page.

- Select the member group to move them to and click "Submit."
Deleting Members
When in the member browse page in ACP, click the box to the left of the member(s) you want to delete. At the bottom of the page,
click the "Delete" button.

Need help?
If you need any help, drop us a line at our Konnexu Support Portal or ask a question at the Konnexu Community. We're always happy to assist.