Abuse Reports
Abuse Reports are a necessary part of any online community. They help your members feel safer as they can report bad conduct by other members, spammers, and content they may find offensive. As such, you need a way to monitor and deal with those reports.
In order to manage the below settings, you'll need to be logged in to your ACP.
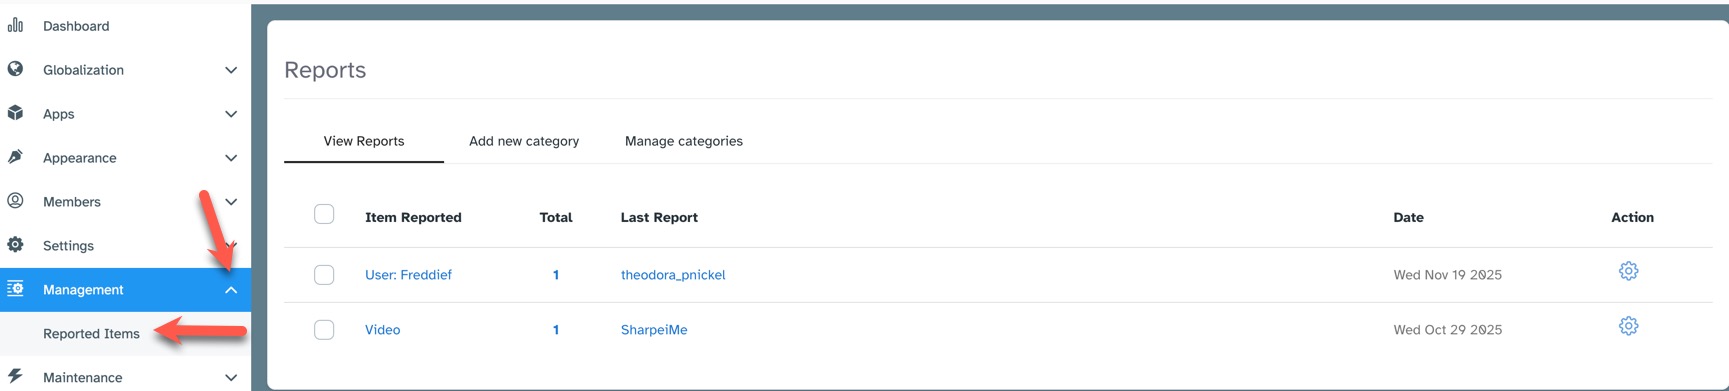
When logged in to the ACP, navigate to Management >> Reported Items. You'll see a list of the reported items and members to the right.
Viewing Reports
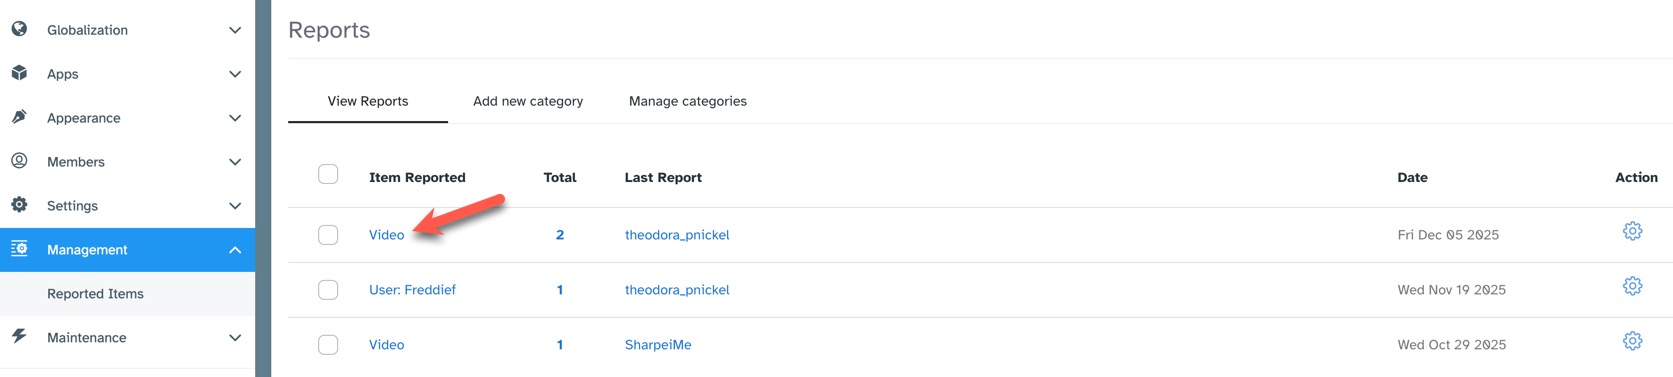
When viewing reports, you'll see the item reported, how many times it's been reported, and the date. You can click the item that's been reported to go to that item and take appropriate actions.
Viewing Report Details
You can see who reported an item, the category of the report, and feedback on why the user reported the item if they left feedback. To view these details, click the number in the "Total" column for the item you want to view:
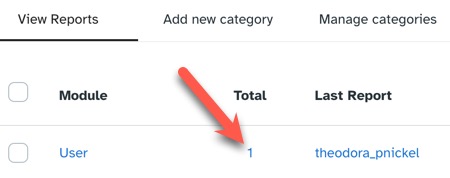
A popup will open that shows the user reporting the item, category of the report and any feedback they left about the item.

Ban or Warn Reported Users
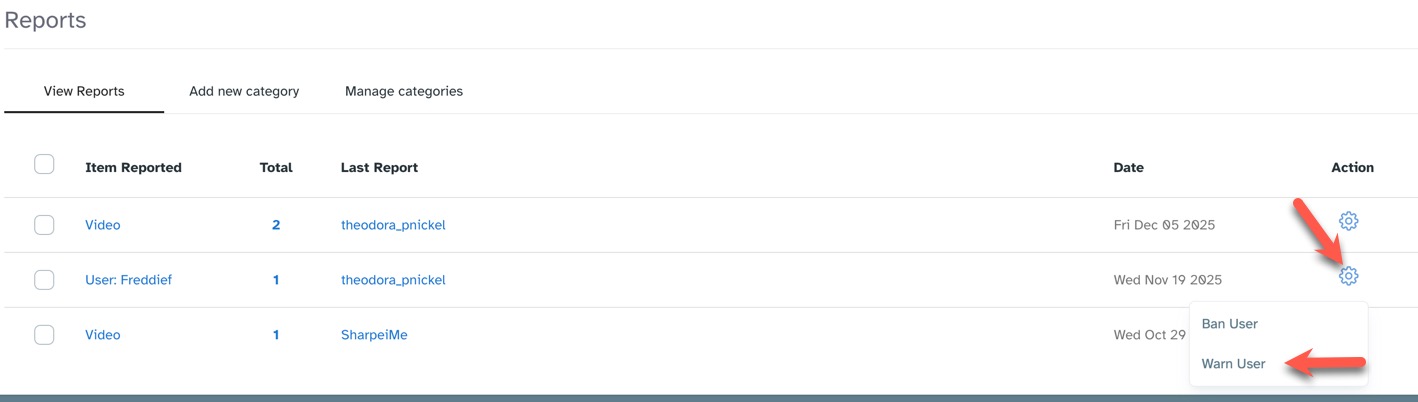
If a user has been reported, you can either warn the user, or ban them. Warning the user will send a message to the user. Banning the user will put them in the Banned user group, and they will be restricted from the site activities based on your Banned user group settings. Ensure that you've set your user group settings for the Banned user group.
Warning a Reported User
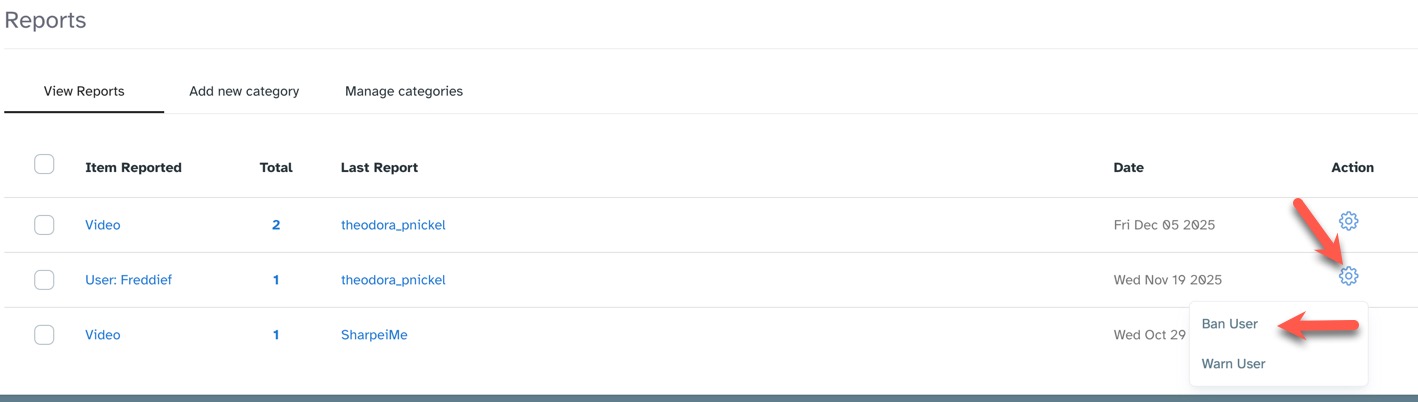
To the far right of the reported user, in the Action column, click the gear and select "Warn User."
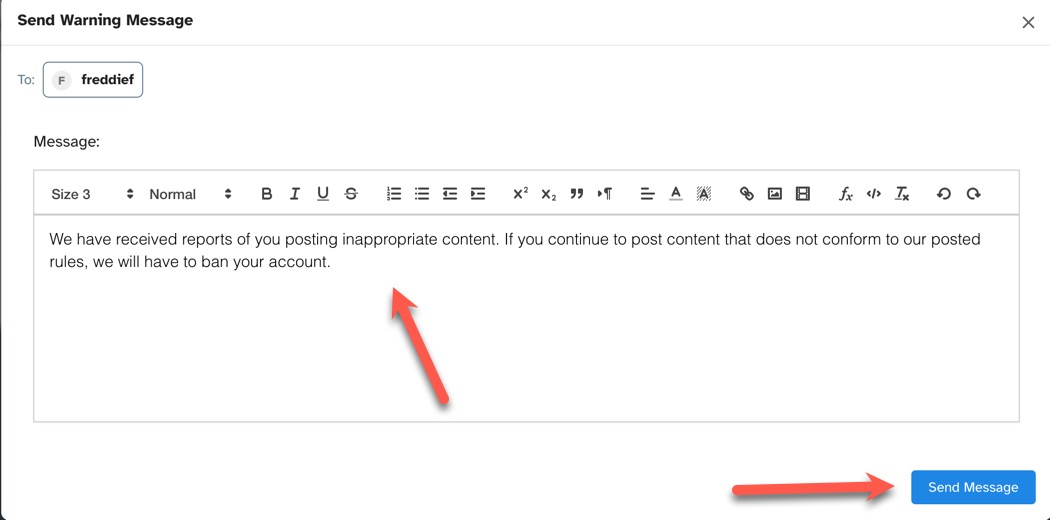
A popup will open where you can fill in the warning you want to send. This will go to the user's in site messages. Be sure to fill in the message and click "Send Message."
Ban a Reported User
To the far right of the reported user, in the Action column, click the gear and select "Ban User."
You'll see a popup that asks if you are sure. Click "Confirm" to ban the user or "Cancel" if you changed your mind. If you choose to ban the user, they will immediately be moved to a Banned user group.
Ignoring Items
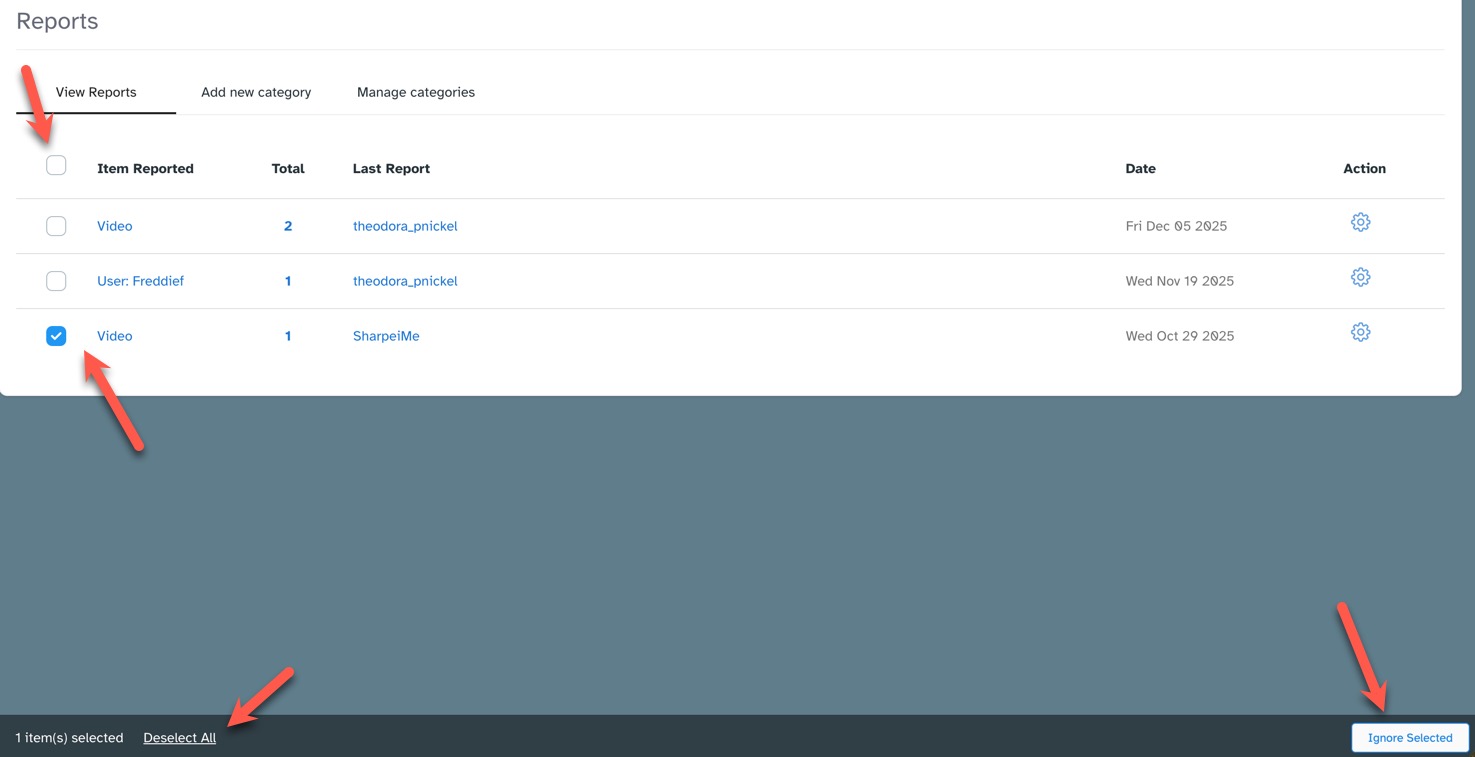
Click the checkbox to the left of the item(s) you want to ignore and choose "Ignore Selected" at the lower right of the screen. This will clear out this report. You can also mass select all reports by clicking the top left box, or deselect all by clicking the lower left "Deselect all."
Adding Report Categories
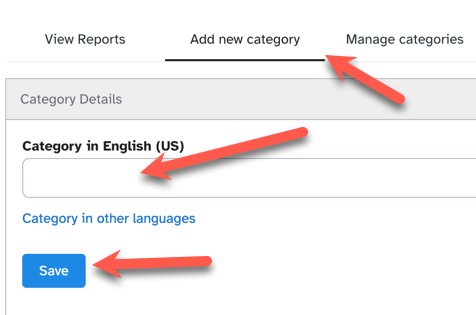
- Click the "Add New Category" tab.
- Add the category name in English.
- If you have other languages, you can also add those now.
-
Click "Save" to save when done.
Managing Report Categories
Click the "Manage Categories" tab to open the page where you can delete, arrange and edit categories.

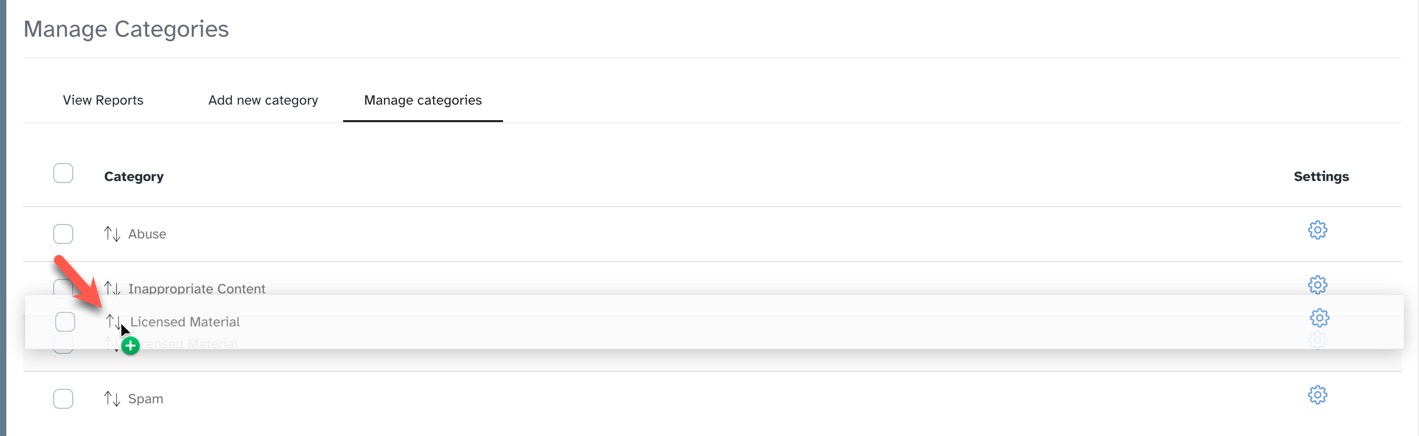
Arranging Categories
To arrange categories, click the up/down arrow to the left of the category name and drag it up or down depending on where you want it. Drop it into place.
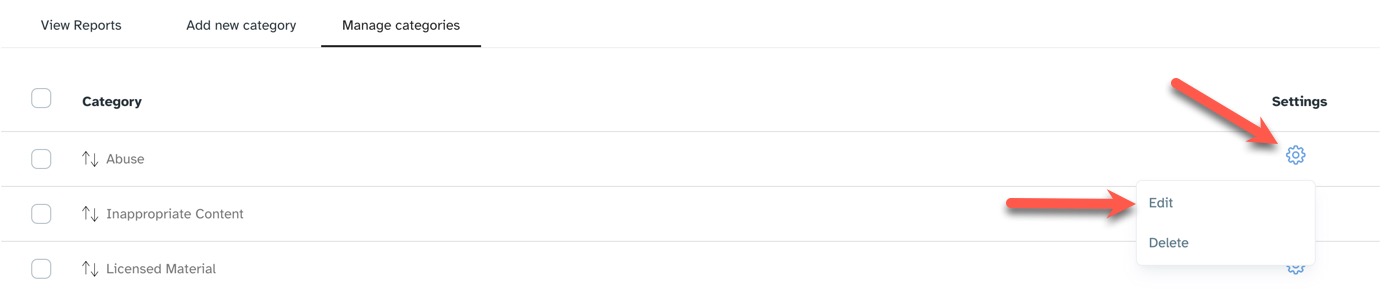
Editing Categories
Click the gear to the far right of the category you want to edit and choose "Edit" from the drop-down selection.
Deleting Categories
There are two ways to delete categories.
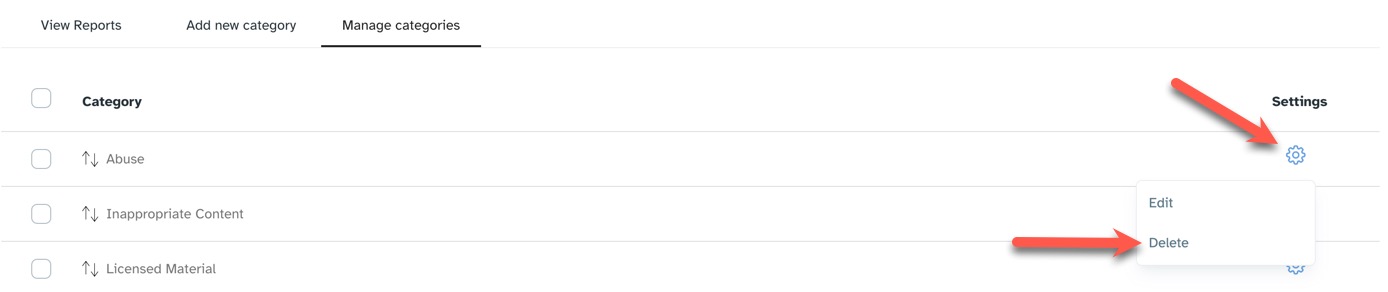
Deleting a Single Category
Click the gear to the far right of the category you want to delete and choose "Delete" from the drop-down selection.
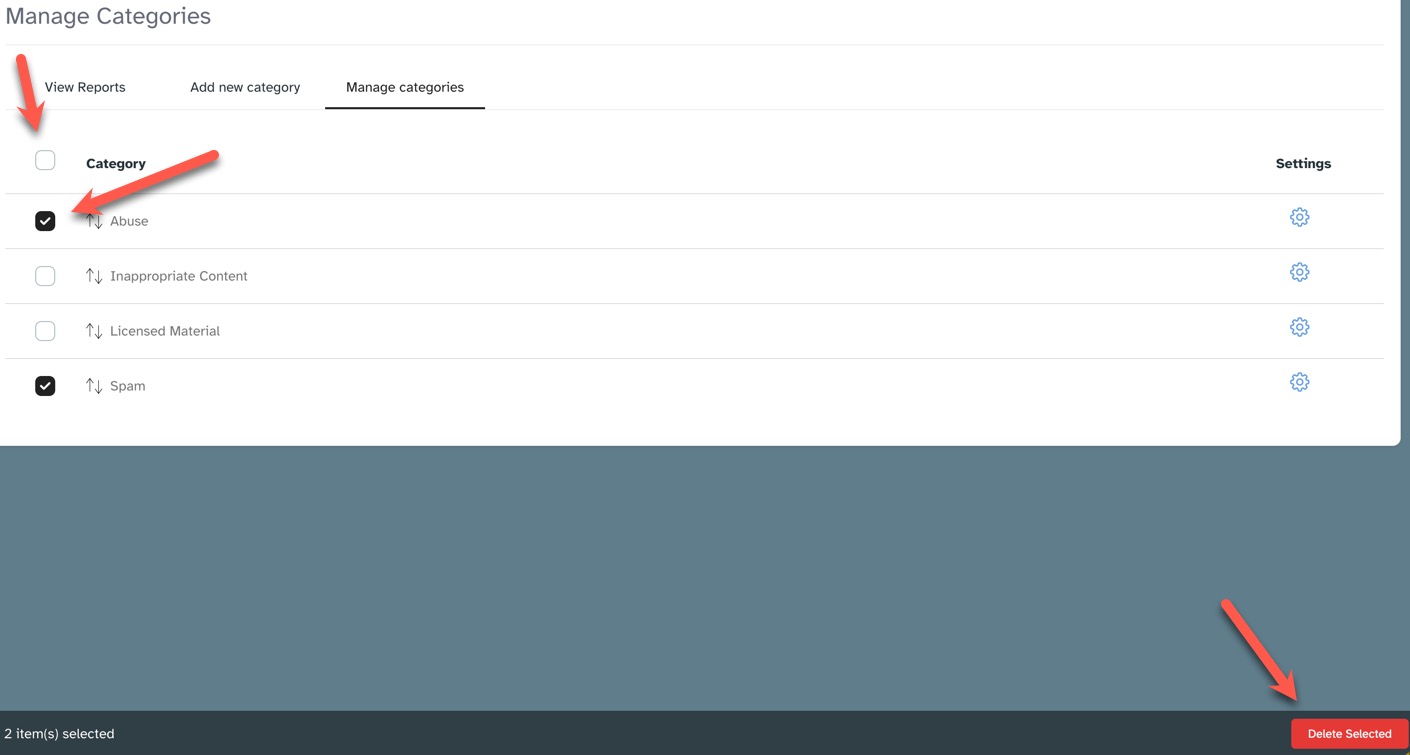
Deleting a Single Category or Multiple Categories
Click the checkbox to the left of the category, or categories, you want to delete and choose "Delete Selected" in the lower right of the page. You can also click the checkbox at the top of the categories to select all and delete all.
Need help?
If you need any help, drop us a line at our Konnexu Support Portal or ask a question at the Konnexu Community. We're always happy to assist.